
Introduction to Freelance Invoicing
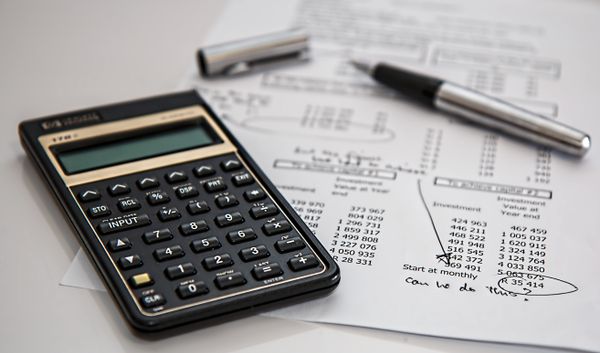
As a freelancer, your ability to invoice professionally can make or break your business. Freelance invoicing is the process of creating and sending invoices to clients for the services you provide. It's not just about getting paid—it's about building trust and maintaining professional relationships.
This comprehensive guide covers everything you need to know about freelance invoicing, from basic concepts to advanced strategies for getting paid faster.
Why Invoicing Matters for Freelancers
- Professional Image: Professional invoices build trust with clients.
- Timely Payment: Clear, well-structured invoices get paid faster.
- Legal Protection: Invoices serve as legal documents in case of disputes.
- Financial Record: Invoices help track your income for tax purposes.
Essential Elements of a Freelance Invoice
1. Your Business Information
- Full name or business name
- Address (optional but recommended)
- Phone number and email
- Logo (for branding)
2. Client Information
- Client's full name or company name
- Client's email address
- Client's phone number (optional)
3. Invoice Details
- Unique invoice number (e.g., INV-001)
- Invoice date
- Payment due date
4. Services Provided
- Description of each service
- Quantity (hours, pages, projects)
- Rate per unit
- Total cost for each service
5. Financial Summary
- Subtotal
- Tax (if applicable)
- Any discounts
- Total amount due
6. Payment Terms
- Payment methods accepted
- Bank account details
- Late payment policy
Step-by-Step Guide to Creating a Freelance Invoice
Step 1: Use a Professional Template
Start with a professional template. Our free invoice generator provides customizable templates designed for freelancers.
Step 2: Add Your Business Details
Enter your business name, contact information, and logo to create a branded invoice.
Step 3: Enter Client Information
Add your client's details accurately to ensure the invoice reaches the right person.
Step 4: List Your Services
Create a clear breakdown of the services you provided, including descriptions, quantities, and rates.
📋 Freelance Invoice Example
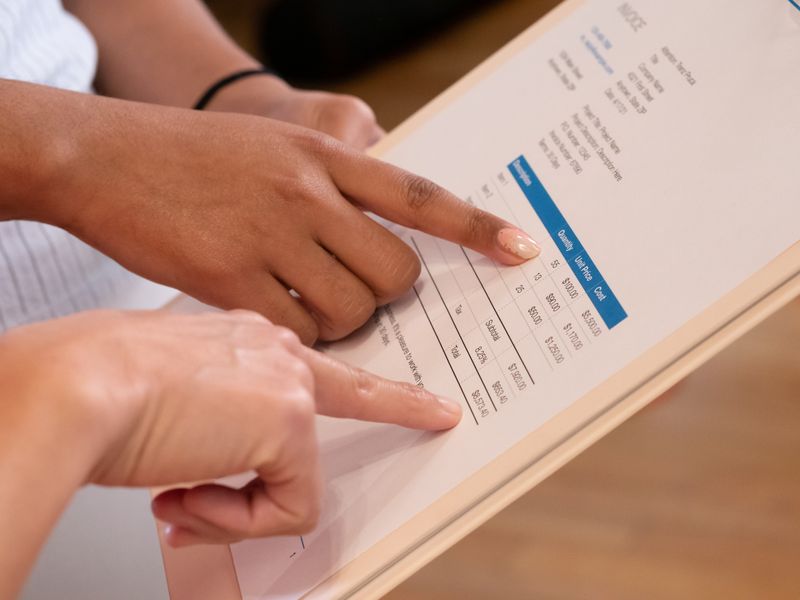
| Service Description | Hours | Rate | Total |
|---|---|---|---|
| Website Design | 10 | $50 | $500 |
| Content Writing | 5 | $40 | $200 |
| SEO Optimization | 3 | $60 | $180 |
| Total | $880 | ||
Step 5: Calculate Totals
Our invoice generator automatically calculates subtotals, taxes, and final totals, eliminating manual errors.
Step 6: Set Payment Terms
Specify payment terms including due date, payment methods, and late payment policies.
Step 7: Review and Send
Review your invoice for accuracy and send it to your client via email or through your invoicing platform.
Best Practices for Freelance Invoicing
- Send Invoices Immediately: Don't wait to send your invoice after completing work.
- Use Clear Payment Terms: Specify exact payment due dates and accepted methods.
- Number Invoices Sequentially: Use a consistent numbering system for easy tracking.
- Add a Personal Touch: Include a thank you note to maintain good client relationships.
- Set Up Payment Reminders: Automate reminders for upcoming and overdue payments.
- Follow Up on Late Payments: Don't be afraid to follow up on overdue invoices politely.

Common Freelance Invoicing Mistakes to Avoid
- Incomplete Information: Missing contact details or payment terms cause delays.
- Vague Descriptions: Clients need clear service descriptions to approve payments.
- Incorrect Calculations: Double-check all figures to avoid disputes.
- Unprofessional Formatting: Use professional templates with consistent formatting.
- No Late Payment Policy: Include late payment fees to encourage timely payments.
How to Get Paid Faster as a Freelancer
- Offer Multiple Payment Methods: Accept PayPal, bank transfers, credit cards, and more.
- Use Automated Invoicing: Automate the process with our free invoice generator.
- Send Payment Reminders: Remind clients before and after the due date.
- Offer Early Payment Discounts: Incentivize early payments with small discounts.
- Request Deposits: For large projects, request a deposit before starting work.
Freelance Invoicing Checklist
✅ Freelance Invoice Checklist
- ☐ Your business name and contact information
- ☐ Client's name and contact details
- ☐ Unique invoice number
- ☐ Invoice date and payment due date
- ☐ Clear service descriptions with quantities
- ☐ Hourly rates or project fees
- ☐ Subtotal, taxes, and total amount due
- ☐ Payment methods and bank details
- ☐ Late payment policy (if applicable)
- ☐ Thank you note or personal message
Conclusion
Mastering freelance invoicing is essential for building a successful freelancing career. A professional invoicing process helps you get paid faster, builds trust with clients, and maintains proper financial records.
Start using our free freelance invoice generator today and take control of your invoicing process.
💼 Ready to create professional freelance invoices? Use our free invoice generator designed specifically for freelancers to get paid faster.